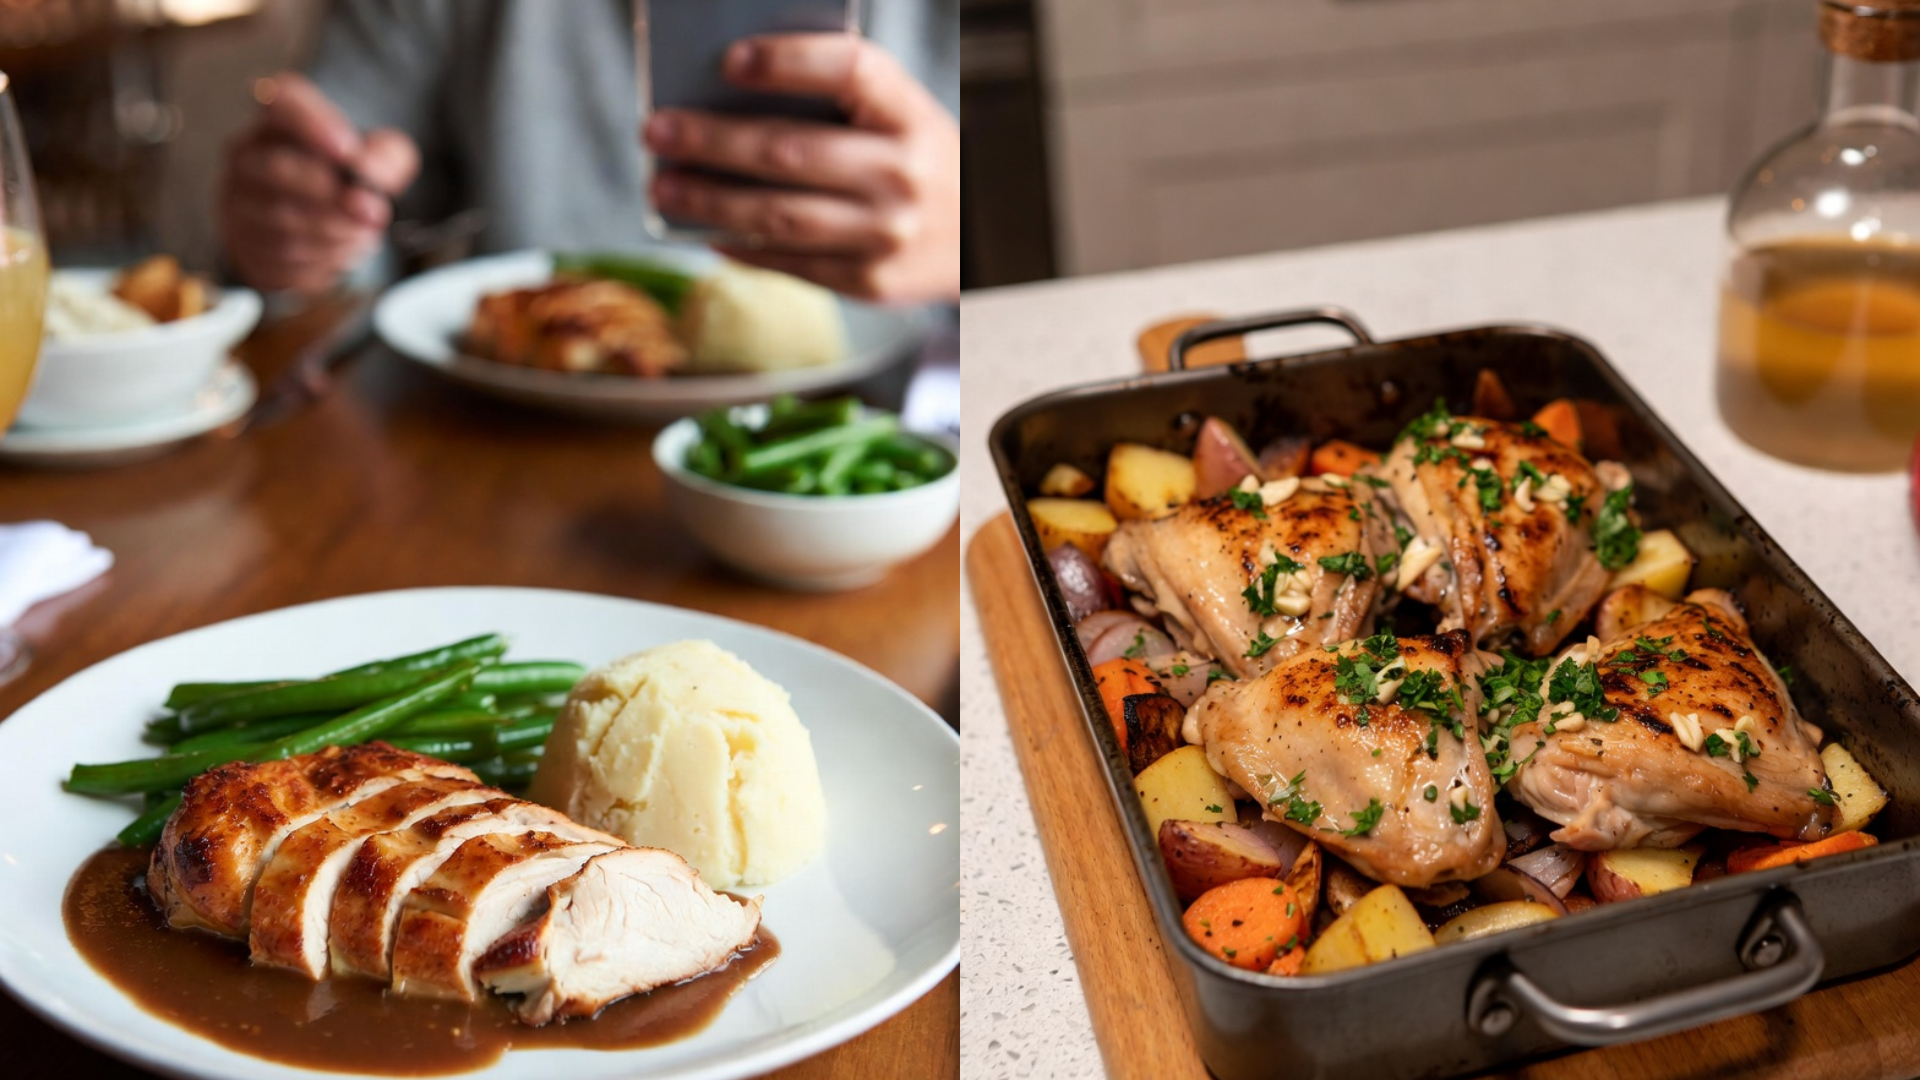
Most people overcook this. Here’s how not to. The difference between dry, chalky baked chicken and a genuinely juicy version comes down to one step: pulling it from the oven based on internal temperature, not on time, and letting it rest before cutting.
Juicy baked chicken recipes fail almost exclusively because of overcooking, not because baking is an inherently drying method. A properly executed version relies on brining or salting ahead of time, a moderate oven temperature, and a thermometer instead of guesswork — three things that together prevent the moisture loss most people blame on the oven itself.
Prep time: 15 minutes (plus 30+ minutes brining) | Cook time: 35 minutes | Total time: 50 minutes, plus brining | Servings: 4
Table of Contents
What Makes This Recipe Work
- A simple dry brine sits on the chicken before baking — this is intentional. Salt draws moisture out initially, then that moisture reabsorbs back into the meat carrying the salt with it, seasoning from the inside out
- The oven runs at 400°F, not higher — the science here is simple: too-high heat cooks the exterior faster than the interior, forcing you to overcook the center just to catch up
- Chicken comes out at 160°F, not 165°F — most recipes skip this, but carryover cooking raises the internal temperature another 5 degrees during the rest, so pulling early prevents overshooting
- A mandatory rest before cutting — cutting immediately releases the juices that resting allows to redistribute back through the meat

Ingredients — What to Buy and Why It Matters
- Bone-in, skin-on chicken thighs or a whole cut-up chicken (about 3-4 lbs): Bone and skin both insulate the meat during baking, which is why boneless, skinless cuts dry out faster and require closer attention to timing.
- Kosher salt (1.5 tsp per pound of chicken): Kosher salt dissolves more evenly than table salt and won’t oversalt the way a volume-for-volume swap with fine salt would — do not substitute table salt at the same measurement.
- Olive oil (2 tbsp): Coats the skin for even browning and helps the seasoning adhere — a neutral oil works too, but olive oil adds a small amount of flavor the finished dish benefits from.
- Garlic powder, onion powder, smoked paprika (1 tsp each): These form the base seasoning layer, added after the salt has had time to work into the meat.
- Fresh thyme or rosemary (a few sprigs): Placed under and around the chicken while baking, these infuse the pan and the meat with aromatic oil released by the oven’s heat — dried herbs work as a substitute but with noticeably less impact.
- Unsalted butter (2 tbsp), softened: Rubbed under the skin where possible, butter bastes the meat from the inside as it melts, adding richness that oil alone doesn’t provide.
Substitution note: Boneless, skinless chicken breast can be used instead, but reduce the bake time significantly and check temperature starting at 20 minutes, since it has far less natural insulation against drying out.
Step-by-Step Instructions
- Pat the chicken completely dry with paper towels. Dry skin is what allows the salt to adhere properly and what ultimately crisps in the oven — skipping this step is the single most common reason baked chicken skin stays pale and rubbery.
- Season generously with kosher salt on all sides, including under the skin where possible. This is the critical step here — let it sit uncovered in the refrigerator for at least 30 minutes, or up to 24 hours for a more pronounced effect.
- Preheat the oven to 400°F. Remove the chicken from the fridge 20-30 minutes before baking to take some of the chill off, which helps it cook more evenly.
- Rub softened butter under the skin, then coat the exterior with olive oil and the remaining spice blend. What’s actually happening under the skin is the butter will slowly render and baste the meat as it bakes, keeping the surface moist without steaming it.
- Arrange chicken skin-side up in a single layer on a baking sheet or roasting pan, with thyme or rosemary sprigs tucked around the pieces.
- Bake for 30-35 minutes, checking internal temperature at the thickest part with a meat thermometer starting around the 25-minute mark. Pull the chicken from the oven at 160°F — carryover cooking will bring it the rest of the way to a safe 165°F while it rests.
- Let the chicken rest, loosely tented with foil, for 5-10 minutes before serving. Skipping this step is non-negotiable to avoid — cutting immediately sends the juices straight onto the cutting board instead of back into the meat.

Technique Notes for Better Results
- The professional approach here is using a thermometer every time, not relying on time alone — every oven runs slightly differently, and time-based recipes are the most common cause of overcooking
- Where most home cooks go wrong is skipping the dry brine step entirely, assuming a quick sprinkle of salt right before baking does the same job, when it doesn’t have time to actually penetrate the meat
- If the skin isn’t crisping enough by the end of cooking, a brief 2-3 minutes under the broiler finishes it off without overcooking the interior
- Let chicken come closer to room temperature before baking — cooking straight from the fridge means the exterior finishes well before the center catches up
- Basting isn’t necessary if you’ve dry-brined properly, since the salt retention already does most of that work
- For extra-crispy skin, leave the seasoned chicken uncovered in the fridge overnight — the dry air helps moisture evaporate from the skin’s surface before it ever hits the oven
Plating and Serving
- Roasted root vegetables cooked on the same pan absorb rendered chicken fat and pick up flavor without extra effort
- A simple green salad with a sharp vinaigrette balances the richness of the skin and butter
- Garlic mashed potatoes make a classic, comforting pairing that soaks up any pan juices
- Slice and fan the chicken slightly on the plate, spooning a small amount of pan juices over the top for shine and added flavor
- A medium-bodied white wine like Chardonnay, or a light-bodied red like Pinot Noir, both complement the richness without overwhelming the herb notes
Nutritional Profile
Chicken thighs provide more iron and B vitamins than breast meat, along with more fat, which is part of what helps them stay moist through baking. Leaving the skin on adds flavor and helps retain moisture, but also adds meaningful fat and calories — removing the skin before eating, rather than before cooking, keeps the moisture benefit while cutting some of that fat. For a lower-sodium version, reduce the dry brine salt by about a third, understanding the seasoning will read as milder throughout. Bone-in cuts take slightly longer to cook than boneless, but the bone itself contributes minerals during cooking and helps regulate heat distribution.

Common Questions, Answered Directly
Can I skip the dry brine if I’m short on time? Yes, but season at least 15 minutes before baking rather than immediately, since even a short head start improves how well the salt penetrates.
Why does my chicken always come out dry? You’re almost certainly overcooking it. Invest in a meat thermometer and pull the chicken at 160°F rather than trusting time alone.
Can I use this method for a whole chicken? Yes, though cooking time increases to roughly 60-75 minutes depending on size — always confirm with a thermometer in the thickest part of the thigh.
How long does baked chicken keep? Up to 4 days refrigerated in a sealed container; reheat gently, covered, to avoid drying it out further.
Skip the guesswork tonight — a thermometer and a little patience are the only tools this recipe actually needs.