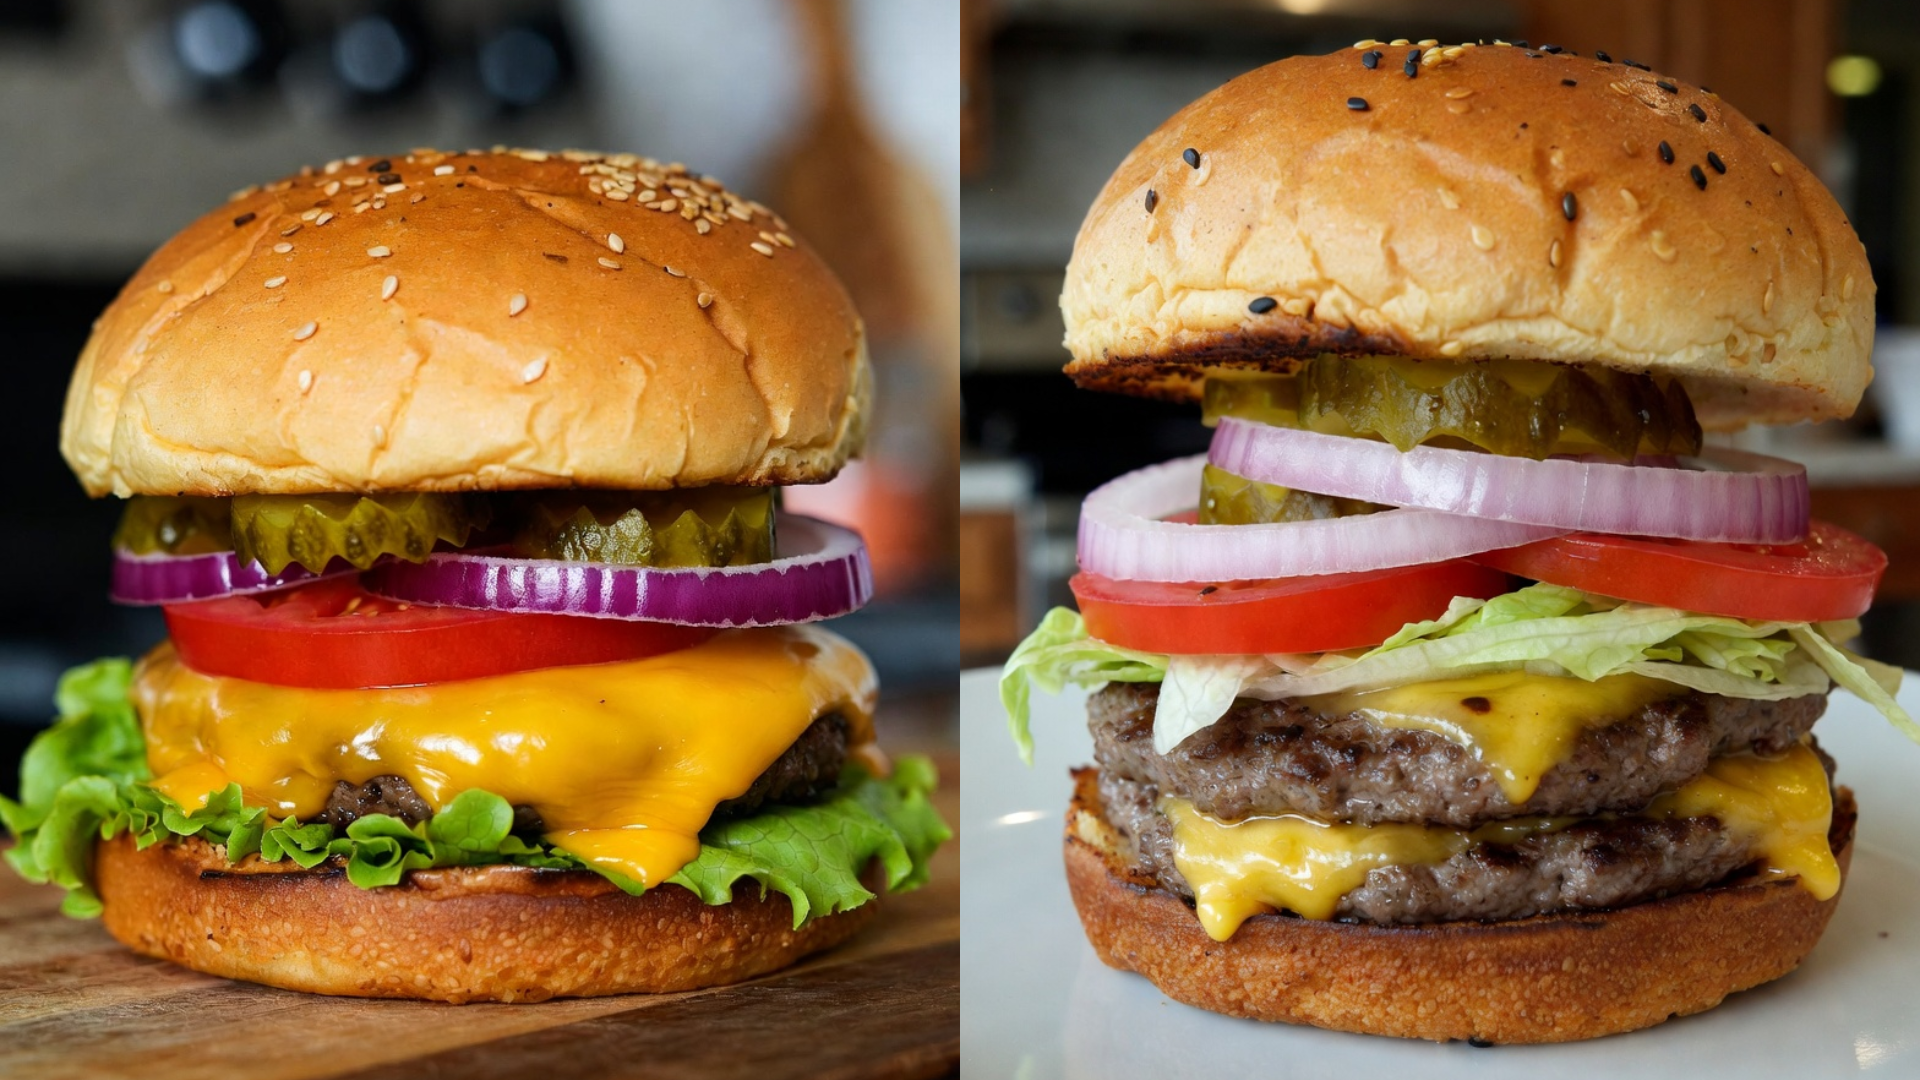
Most people overcook this. Here’s how not to. The difference between a flat, gray patty and a genuinely great cheeseburger comes down to one step: getting real contact between the meat and a screaming hot surface, since that contact is where almost all the flavor actually comes from.
This perfect cheeseburger recipe everyone is obsessed with relies on a technique, not a fancy blend of beef or a secret sauce. Maximum surface contact with high heat builds a deep, crusty sear in a matter of minutes, and that sear is doing more flavor work than any seasoning could on its own.
Prep time: 10 minutes | Cook time: 10 minutes | Total time: 20 minutes | Servings: 4
Table of Contents
What Makes This Recipe Work
- The patties are smashed thin against a hot surface, not left thick — this is intentional. Smashing maximizes surface area contact with the pan, which is where the Maillard reaction happens — more contact means more crust, and crust is where the flavor lives
- The beef is 80/20, not leaner — the science here is simple: that fat content renders during the hard sear, basting the patty from within and preventing it from drying out despite the high heat and thin shape
- Cheese goes on the moment the patty is flipped, not after — most recipes skip this timing, but adding cheese immediately gives it the full remaining cook time to melt fully rather than sitting stiff on top
- Salt is added right before cooking, not mixed into the meat — salting the ground beef in advance draws out moisture and can make the texture springy rather than tender, so seasoning happens only on the exterior, right at the pan
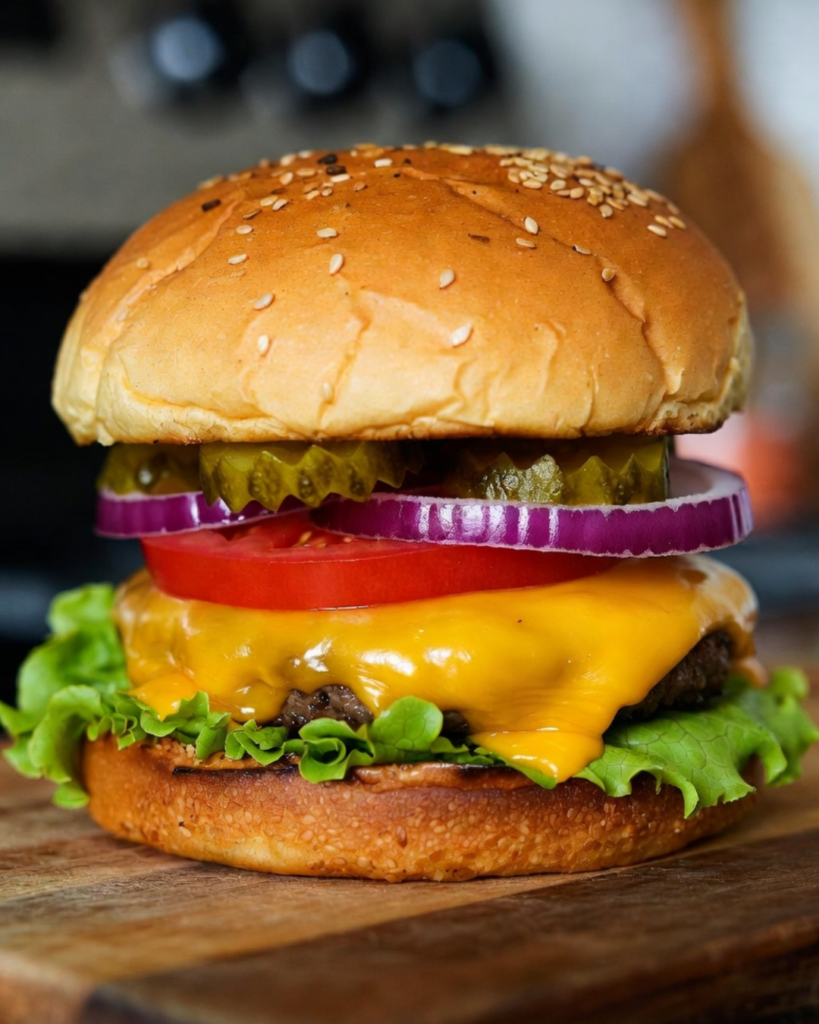
Ingredients — What to Buy and Why It Matters
- Ground beef (1.5 lbs, 80/20): The fat content is essential here — leaner blends dry out fast under the high heat this method requires, while 80/20 renders enough fat to stay juicy despite the thin, smashed shape.
- American cheese (4 slices): Melts more smoothly and evenly than sharper cheeses like cheddar, which can break or separate slightly under direct heat — cheddar works if you prefer the flavor, but expect a slightly less uniform melt.
- Burger buns (4), lightly toasted: Toasting the cut side briefly in the same pan adds a layer of textural contrast and prevents the bun from turning soggy against the juicy patty.
- Kosher salt and black pepper: Applied only to the exterior of the formed patties right before they hit the pan, not mixed into the meat beforehand.
- Yellow mustard and ketchup, for the classic sauce base: A simple combination on the bun does real work here — this isn’t a burger that needs a complicated sauce to taste finished.
- Dill pickles and thinly sliced white onion: The classic textural contrast — sharp, acidic, and crunchy against the rich, fatty patty.
Substitution note: Ground chuck can replace standard ground beef with a similar fat ratio, though the flavor reads as slightly beefier and more robust.
Step-by-Step Instructions
- Divide the ground beef into four loose, lightly formed balls, about 6 oz each. Do not compact them tightly — a loose ball with minimal handling is what allows the patty to spread easily and evenly once smashed.
- Heat a cast iron skillet or griddle over high heat until visibly smoking. This is the critical step here — a surface that isn’t hot enough won’t produce the crust this method depends on, no matter how hard you smash the patty.
- Place a ball of beef on the hot surface and immediately press down firmly with a sturdy spatula, holding pressure for 10-15 seconds until the patty spreads to roughly 1/4-inch thickness. What’s actually happening is you’re maximizing the meat’s contact with the pan, which drives the Maillard reaction responsible for a deep, crusty exterior.
- Season the top of the patty with salt and pepper immediately after smashing.
- Cook undisturbed for 2-3 minutes, until the edges look deeply browned and slightly crisp, with visible fat rendering out around the patty.
- Flip the patty and immediately place a slice of cheese on top. This is non-negotiable for full, even melting — waiting even 30 seconds to add the cheese means it won’t fully melt by the time the second side finishes cooking.
- Cook the second side for 1-2 minutes more, until the cheese is fully melted and the patty reaches your desired doneness.
- Toast the cut sides of the buns briefly in the same pan, picking up some of the rendered beef fat for extra flavor.
- Assemble immediately, layering condiments, patty, pickles, and onion while everything is still hot.
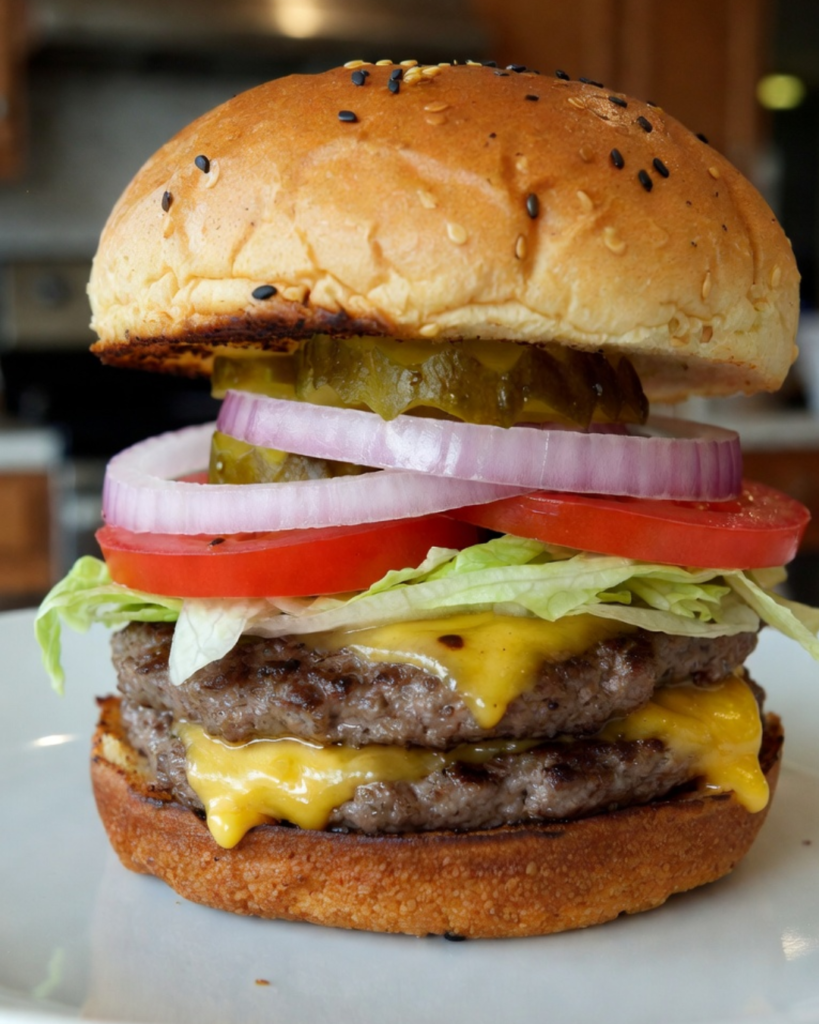
Technique Notes for Better Results
- The professional approach here is applying hard, even pressure the moment the meat hits the pan, not gradually — a slow smash doesn’t generate the same immediate contact that a firm, quick press does
- Where most home cooks go wrong is flipping the patty too early, before a proper crust has formed, which tears the thin patty apart instead of releasing it cleanly
- If your patties are sticking despite smashing correctly, your pan likely isn’t hot enough — let it preheat longer before starting
- A metal spatula, rather than a thin plastic one, gives you the leverage needed to smash firmly and scrape up the full crust when flipping
- For an even deeper crust, add a small piece of parchment paper between the spatula and the meat when smashing, which prevents sticking to the spatula itself without affecting the sear on the pan side
- Toasting the buns in the same pan, using the rendered fat left behind, adds a layer of flavor that a plain toaster can’t replicate
Plating and Serving
- Classic crinkle-cut fries or a simple potato chip make an easy, complementary side
- A tangy coleslaw adds acidity that cuts through the richness of the beef and cheese
- Stack condiments directly on the bun before the patty, letting the hot cheese slightly melt into the sauce below
- Serve immediately while the cheese is still fully melted and the crust is at its crispest
- A cold lager or a classic cola both work well, cutting through the richness of the fat-rendered patty
Nutritional Profile
The 80/20 beef blend provides meaningful protein alongside a higher fat content than leaner ground beef, which is directly responsible for the juiciness this method depends on. American cheese adds calcium and additional saturated fat, contributing to the overall richness of the finished burger. For a lighter version, an 85/15 blend still smashes reasonably well, though the patty will be slightly less juicy given the reduced fat available to render. Using a lettuce wrap instead of a bun cuts carbohydrates significantly without changing the core cooking technique.
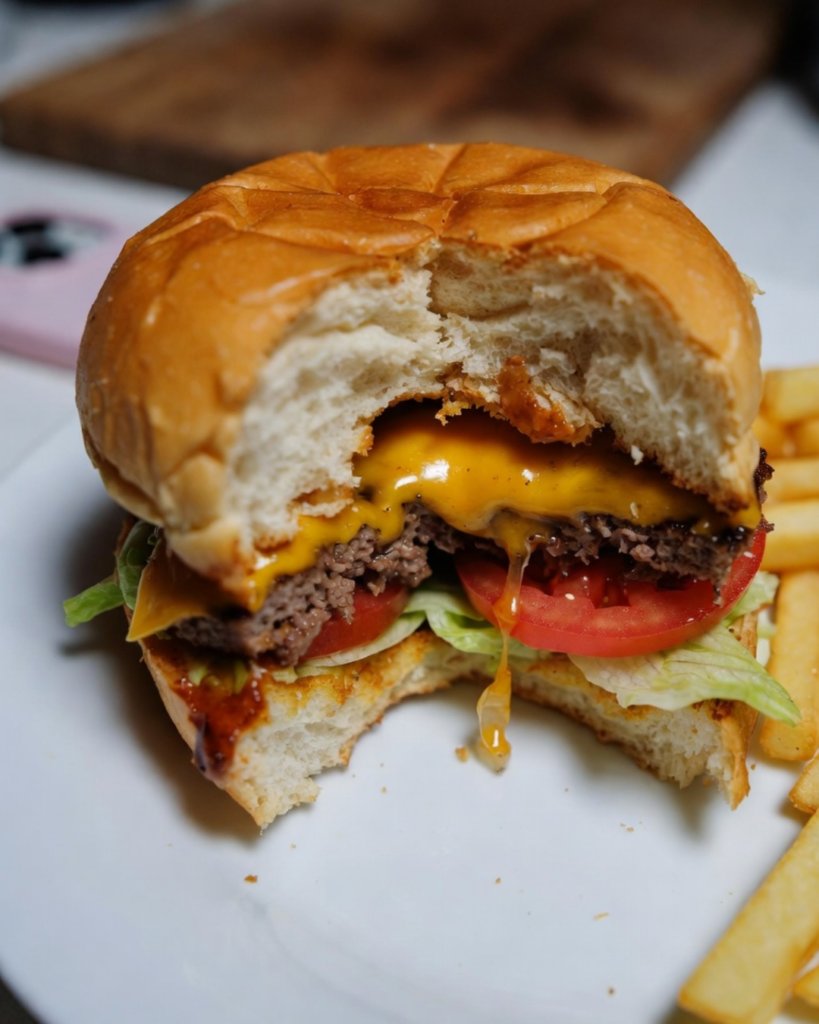
Common Questions, Answered Directly
Why do my smashed patties fall apart when I try to flip them? The patty likely wasn’t given enough time to develop a proper crust before flipping. Wait until the edges look deeply browned and the patty releases easily from the pan.
Can I make the patties ahead and refrigerate them? Yes, formed but unsmashed, for up to a day — smash them fresh on the hot pan just before cooking rather than pre-shaping them thin.
What if I don’t have a cast iron skillet? Any heavy-bottomed pan that holds and distributes heat well works, though cast iron retains high heat most consistently for this method.
Can I use a leaner beef blend? Yes, but expect a noticeably drier result, since the fat rendering during the hard sear is central to how this method keeps a thin, smashed patty juicy.
Skip the takeout tonight — a hot pan and a firm hand with the spatula are what actually make this burger worth the hype.