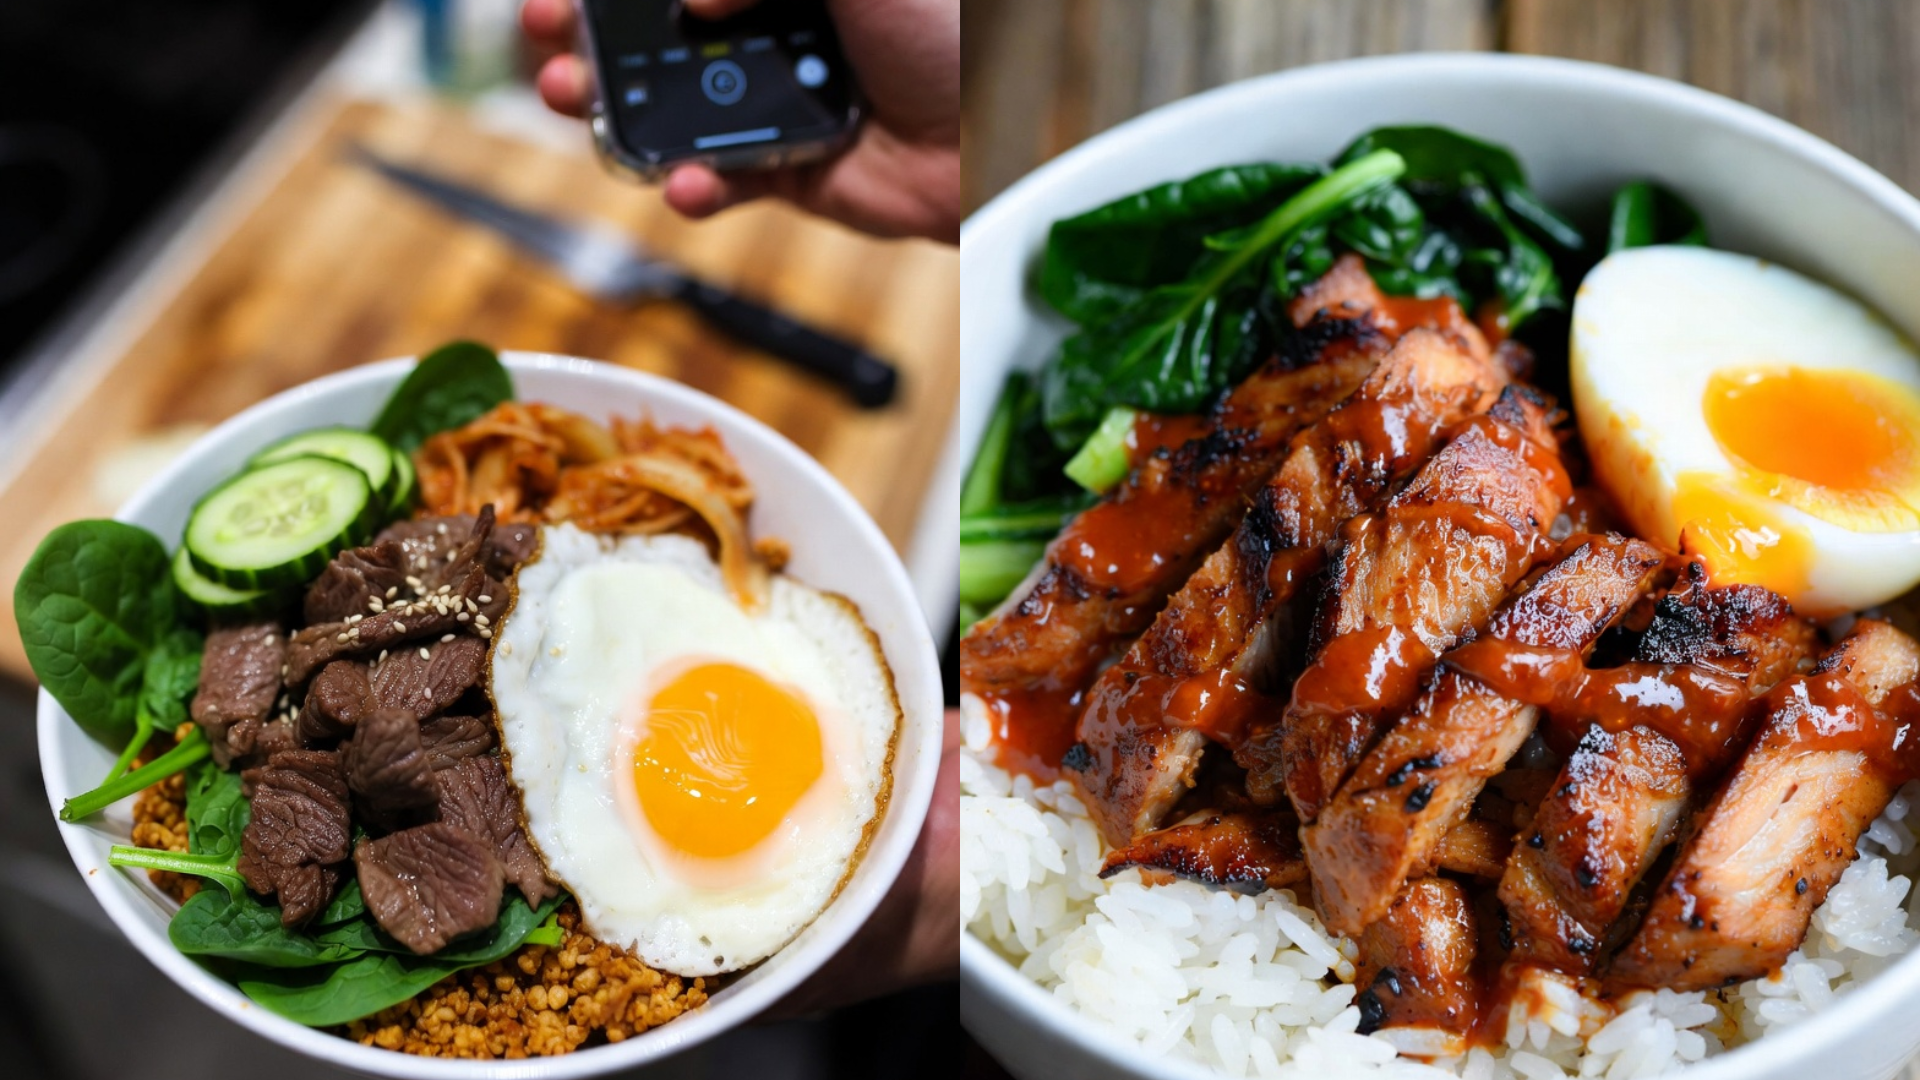
Most people overcook this. Here’s how not to. The difference between a Korean rice bowl that tastes muddled and one with real distinction comes down to one step: cooking the beef separately over high heat and adding it to the bowl last, rather than simmering it in sauce until it turns tough and loses its char.
This easy Korean rice bowl recipe relies on a quick, high-heat sear for the beef, a properly balanced sweet-savory sauce, and fresh, crisp vegetables added at the end for contrast. Treating each component with its own attention, rather than cooking everything together in one pan, is what actually separates this from a bowl of beef and rice with sauce poured over it.
Prep time: 15 minutes | Cook time: 15 minutes | Total time: 30 minutes | Servings: 4
Table of Contents
What Makes This Recipe Work
- The beef is sliced thin and seared hard over high heat, not simmered — this is intentional. A hard sear builds a caramelized crust in minutes, while simmering thin beef in sauce toughens it and mutes the char flavor that makes this dish distinctive
- The sauce is built separately and added to the beef only at the very end — the science here is simple: tossing already-seared beef in sauce for a brief final minute coats it without cooking it further, preserving the tender texture the sear just created
- Rice is seasoned lightly on its own before assembly — most recipes skip this, but a small amount of seasoning worked into the warm rice gives it a base flavor instead of relying entirely on the beef and sauce to carry the whole bowl
- Vegetables are added raw or barely wilted, right before serving — this preserves crunch and brightness, both of which soften quickly if vegetables sit under warm rice and beef for too long
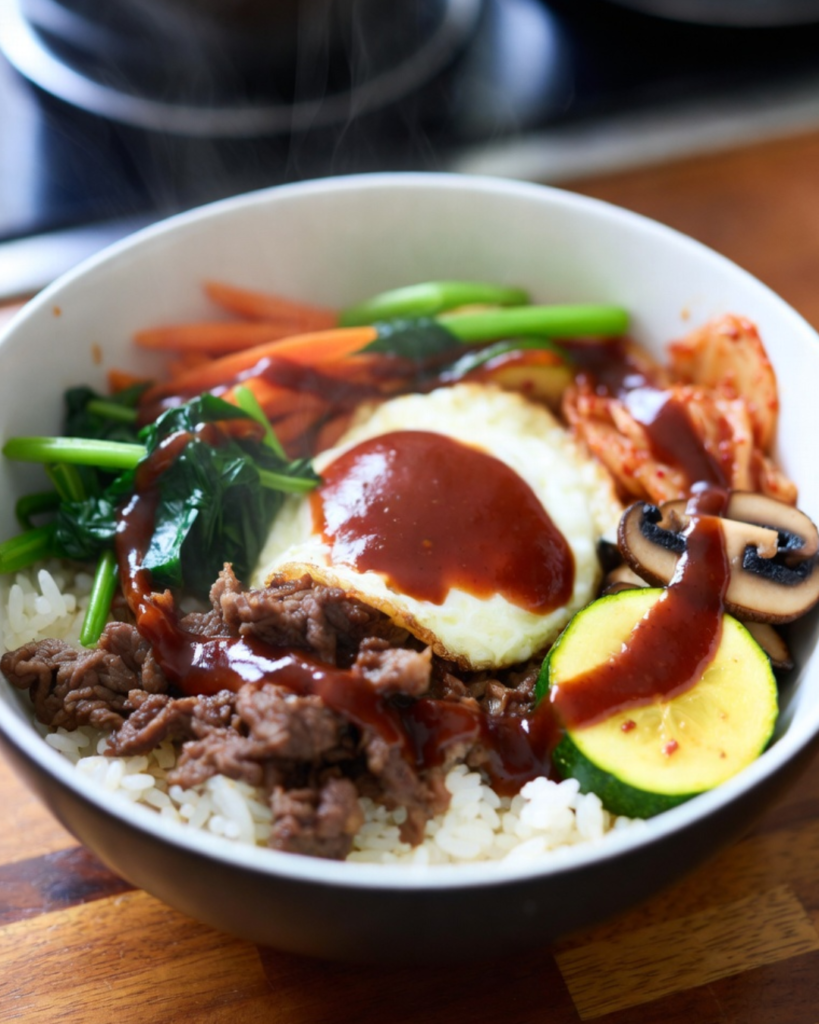
Ingredients — What to Buy and Why It Matters
- Flank or sirloin steak (1.5 lbs), sliced very thin against the grain: Thin slicing shortens the muscle fibers, which is what keeps a quickly seared beef tender — freezing the steak for 15-20 minutes beforehand makes it noticeably easier to slice thinly and evenly.
- Soy sauce (1/3 cup), brown sugar (3 tbsp), and sesame oil (1 tbsp): The core of the sauce — soy sauce provides the salty backbone, brown sugar balances it with sweetness, and sesame oil adds a distinct nutty aroma that’s central to the dish’s flavor profile.
- Garlic (4 cloves, minced) and fresh ginger (1 tbsp, grated): Both fresh, not powdered — powdered versions read flat against this much soy sauce and sugar, losing the sharpness fresh aromatics provide.
- Cooked short-grain rice (4 cups), warm: Short-grain rice’s stickier texture holds together better in a bowl format than long-grain varieties, which tend to separate and scatter.
- Cucumber (1, julienned) and carrots (2, julienned): Both added raw for crunch and color contrast against the warm, savory beef.
- Green onions (3, sliced) and sesame seeds, for finishing: Added last for freshness and visual texture across the top of each bowl.
Substitution note: Ground beef can replace sliced steak for a faster, more budget-friendly version, though you’ll lose some of the distinct seared texture that thin-sliced beef provides.
Step-by-Step Instructions
- Whisk together the soy sauce, brown sugar, sesame oil, garlic, and ginger in a small bowl. Set aside. This is the critical step here — building the sauce separately means you can control exactly how much coats the beef at the end, rather than the beef simmering in it and losing texture.
- Season the warm cooked rice with a small pinch of salt and a splash of rice vinegar, if desired, stirring gently to distribute. What’s actually happening is the rice is absorbing a light seasoning while it’s still warm, which it won’t do nearly as effectively once cooled.
- Pat the sliced beef dry with paper towels. Heat a large skillet or wok over high heat until visibly smoking, with a small amount of neutral oil.
- Add the beef in a single layer, working in batches if necessary to avoid overcrowding. Sear for 1-2 minutes per side, until deeply browned at the edges. Overcrowding drops the pan’s temperature and steams the beef instead of searing it, so don’t rush this by adding it all at once.
- Remove the beef from the pan and set aside. This is non-negotiable if you want tender beef — leaving it in the pan any longer than necessary for the sear risks overcooking such thin slices.
- Pour the prepared sauce into the same hot pan and bring to a brief simmer, about 1 minute, letting it thicken slightly and pick up the browned bits left from searing.
- Return the beef to the pan and toss quickly to coat, just 30 seconds to 1 minute, enough to warm through and glaze without further cooking the meat.
- Divide the seasoned rice among bowls, top with the glazed beef, and arrange the cucumber and carrots alongside. Finish with green onions and sesame seeds.
Technique Notes for Better Results
- The professional approach here is slicing the beef as thin as possible, since thickness directly determines how quickly and evenly it sears without overcooking
- Where most home cooks go wrong is simmering the beef directly in the sauce from the start, which produces a chewier texture than the quick sear-then-glaze method used here
- If your beef isn’t browning despite following the timing, your pan likely wasn’t hot enough to begin with — let it fully preheat before adding the meat
- Partially freezing the steak for 15-20 minutes before slicing makes achieving thin, even slices significantly easier than cutting it at room temperature
- Prep all your vegetables and sauce components before you start cooking the beef, since the searing and glazing steps move quickly and don’t leave room for last-minute chopping
- For a spicier variation, a teaspoon of gochujang stirred into the sauce adds Korean chili paste’s distinct heat and depth without overwhelming the other flavors
Plating and Serving
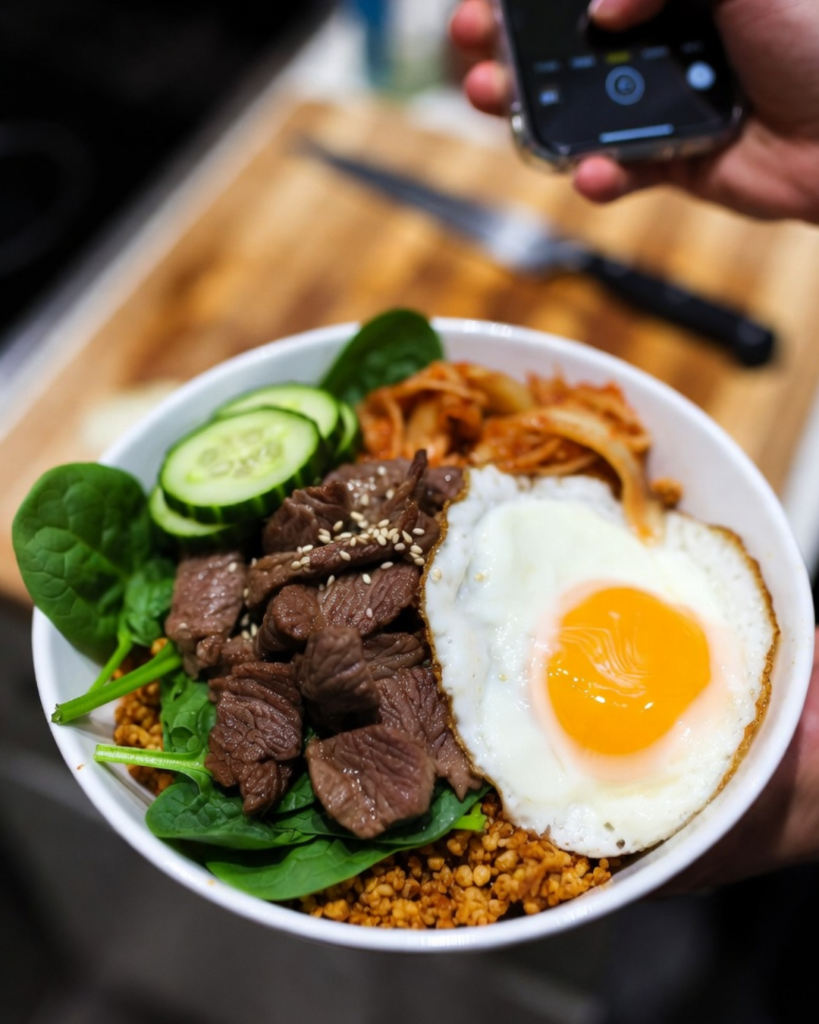
- A fried egg on top adds richness that complements the sweet-savory beef
- Kimchi on the side offers a tangy, fermented contrast that’s traditional alongside Korean rice bowls
- Arrange the vegetables in separate sections rather than mixing everything together, for a cleaner, more composed presentation
- A drizzle of extra sesame oil just before serving adds a final layer of aroma
- A cold Korean lager or a light green tea both pair well, cutting through the richness of the glazed beef
Nutritional Profile
Beef provides iron, zinc, and protein, though the sauce’s brown sugar and soy sauce both contribute meaningful sugar and sodium to the overall dish. The vegetables add fiber and vitamins without significantly increasing the calorie count, helping balance the richness of the beef and sauce. For a lighter version, using a leaner cut of beef and reducing the brown sugar slightly cuts some fat and sugar without dramatically changing the core flavor profile. Using brown rice instead of white adds fiber, though it requires a longer cook time and won’t have quite the same sticky texture that’s traditional in this style of bowl.
Common Questions, Answered Directly
Can I make the components ahead and assemble later? Yes, the rice and sauce both hold up well made in advance — sear the beef fresh just before serving, since it’s best enjoyed hot and freshly cooked rather than reheated.
Why did my beef turn out tough instead of tender? It was most likely simmered directly in the sauce for too long, or sliced too thick. Both work against the quick sear-then-glaze method this recipe depends on.
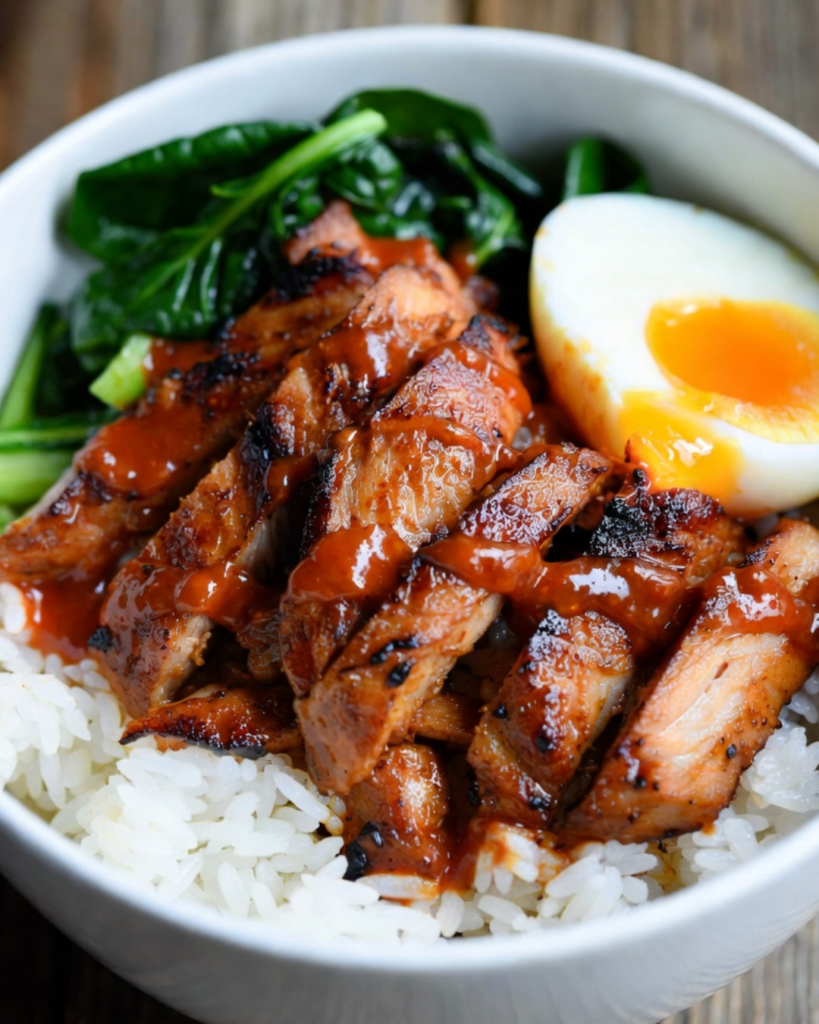
Can I use a different protein? Yes, thinly sliced chicken or pork both work with the same technique, adjusting sear time slightly depending on thickness.
How long do the components keep? The rice and sauce both keep up to 3 days refrigerated in separate containers; cooked beef is best eaten within 2 days and reheated gently to avoid toughening it further.
Skip the takeout tonight — a hot pan and a quick glaze are what actually make this rice bowl worth making at home.