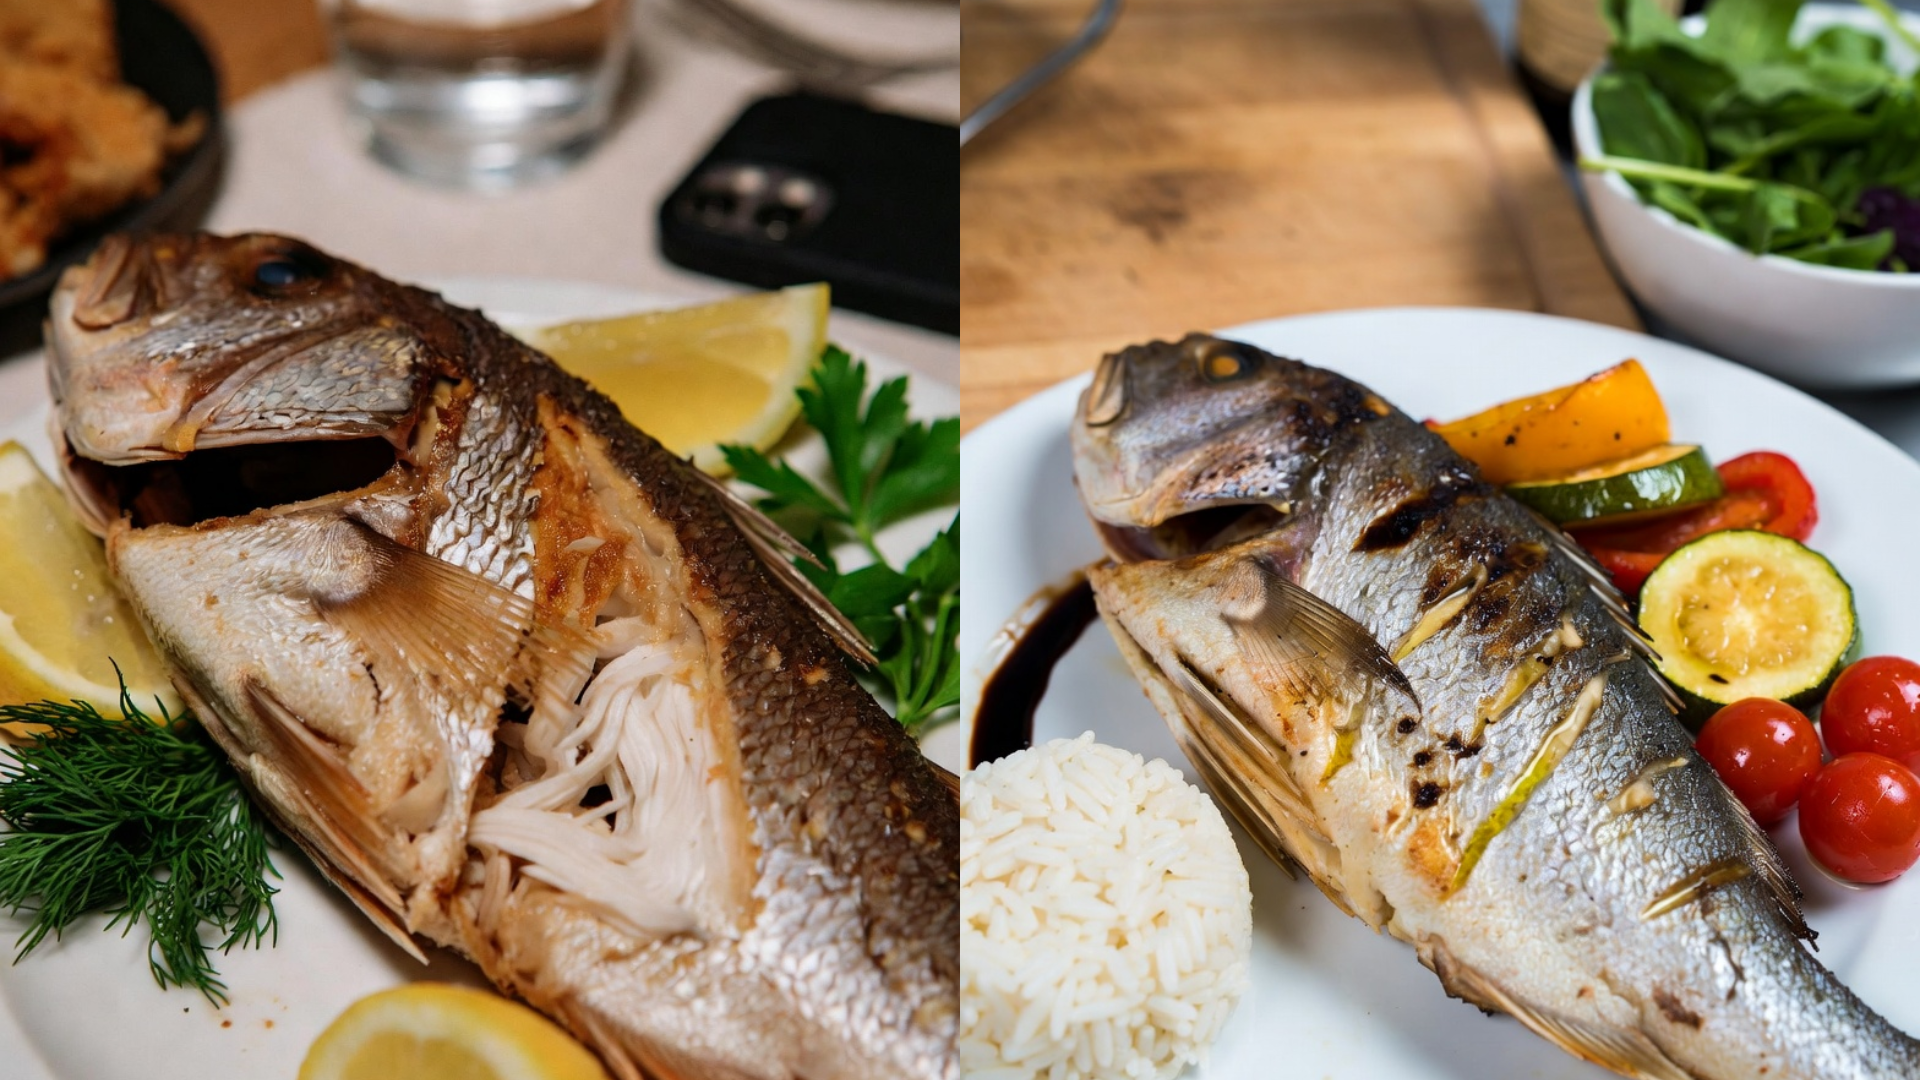
Most people overcook this. Here’s how not to. The difference between tender, flaky snapper and a dry, chalky version comes down to one step: pulling it from the heat within a narrow window, since snapper’s lean, delicate flesh has almost no margin for error compared to fattier fish.
Tender snapper fish recipes fail most often because snapper is treated like a more forgiving fish. A properly executed version accounts for how little fat this fish carries, using gentle heat, precise timing, and a thermometer instead of visual guesswork to catch the fish at exactly the right moment.
Prep time: 10 minutes | Cook time: 10 minutes | Total time: 20 minutes | Servings: 4
Table of Contents
What Makes This Recipe Work
- Snapper is cooked over medium heat, not high — this is intentional. High heat cooks the thin outer layers before the center catches up, forcing you to overcook the exterior just to reach a safe center
- The fish is pulled at 125-130°F, not 145°F — the science here is simple: carryover cooking continues after the fish leaves the heat, and snapper’s lean flesh has almost no buffer against overshooting a safe final temperature
- A light dredge in flour protects the surface — most recipes skip this, but a thin coating shields the delicate flesh from direct, harsh contact with the pan, reducing moisture loss during the sear
- The fish is never flipped more than once — repeated flipping disrupts the protein structure as it sets, which contributes to a drier, less cohesive final texture

Ingredients — What to Buy and Why It Matters
- Snapper fillets (4, about 6 oz each), skin-on if available: Skin-on offers some protection against direct heat and helps the fillet hold together — skinless works but requires closer attention, since there’s no buffer layer.
- All-purpose flour (1/4 cup), for dredging: A thin coating protects the surface and helps develop a light crust — do not use a thick batter, which adds cooking time and increases the risk of overcooking the interior before the coating browns.
- Unsalted butter (3 tbsp) and olive oil (2 tbsp): The combination lets you sear at a slightly higher temperature than butter alone would allow, since the oil raises the smoke point while the butter still contributes flavor and browning.
- Fresh lemon (1, juiced, plus wedges for serving): Added at the end, off heat — lemon juice cooked too long loses its brightness and can also begin denaturing the fish’s surface proteins if added too early.
- Garlic (2 cloves, thinly sliced): Added briefly to the butter after the fish comes out, infusing the pan sauce without burning during the fish’s shorter cook time.
- Fresh parsley or chives (a small handful, chopped): A finishing herb added at the very end for color and a light, fresh contrast to the richness of the butter.
Substitution note: Any thin, delicate white fish like flounder or sole can use this same method, though cook times will be even shorter given their reduced thickness.
Step-by-Step Instructions
- Pat the fillets completely dry with paper towels. This is the critical step here — surface moisture prevents proper browning and can cause the fish to steam instead of sear.
- Season lightly with salt and pepper, then dredge in flour, shaking off excess. A thin, even coating is what you’re after, not a thick layer.
- Heat the butter and olive oil in a skillet over medium heat until the butter is fully melted and just beginning to foam.
- Place the fillets in the pan, skin-side down if applicable, and cook undisturbed for 3-4 minutes. What’s actually happening is the exterior is setting and browning while the interior gently heats through — moving the fish too early disrupts that process and can tear the delicate flesh.
- Flip once, gently, using a thin spatula. Cook the second side for 2-3 minutes, checking internal temperature starting around the 2-minute mark.
- Pull the fish from the pan at 125-130°F at the thickest point. This is non-negotiable if you want a tender, moist result — carryover heat will bring it the rest of the way to a safe finished temperature during the rest.
- Remove the fish to a plate and add the garlic to the remaining butter in the pan, cooking 30 seconds until fragrant. Squeeze in the lemon juice, scraping up any browned bits, then spoon this sauce over the fish.
- Rest for 2 minutes before serving, garnished with fresh herbs.

Technique Notes for Better Results
- The professional approach here is using a thermometer for every piece, not just the thickest one, since fillets often vary slightly in thickness even within the same batch
- Where most home cooks go wrong is treating snapper like a heartier fish such as salmon, applying the same cook times that work for a fattier, more forgiving cut
- If the fish sticks when you try to flip it, it likely isn’t ready — properly seared fish releases cleanly from the pan on its own
- Medium heat throughout is essential; resist the urge to increase heat to speed up browning, since it will overcook the thin edges before the center is done
- For an even more delicate result, poach the fillets gently in a shallow bath of broth or wine instead of searing, watching closely since poached fish cooks even faster than pan-seared
- Letting the fish rest briefly off heat before serving allows the carryover cooking to finish evenly rather than serving it the moment it leaves the pan
Plating and Serving
- A simple herb salad with a light vinaigrette complements the richness of the butter sauce without overwhelming the fish’s delicate flavor
- Steamed or roasted asparagus makes an easy, visually clean side
- A small scoop of rice or couscous underneath catches the pan sauce well
- Plate the fish skin-side up to show off the golden color from searing
- A crisp Sauvignon Blanc or a light Pinot Grigio both pair well, matching the fish’s delicacy rather than overpowering it
Nutritional Profile
Snapper is a lean, low-fat fish, which is part of why it dries out so easily under too much heat or too long a cook time — there’s little internal fat to provide a buffer. It offers a good source of lean protein along with selenium and B vitamins. For a lighter version, reducing the butter and relying more on olive oil cuts saturated fat while still allowing a proper sear, though the sauce will taste slightly less rich. This dish is naturally low in carbohydrates, making it a reasonable choice for those watching blood sugar.

Common Questions, Answered Directly
Why does my snapper always turn out dry? You’re almost certainly overcooking it. Snapper has very little fat to forgive extra time on the heat, so pull it at 125-130°F and let carryover heat finish the job.
Can I use frozen snapper? Yes, thawed completely and patted very dry, since any residual moisture from thawing will interfere with getting a proper sear.
How long does cooked snapper keep? Two to three days refrigerated in a sealed container, best enjoyed cold or gently reheated rather than microwaved on high, which tends to overcook it further.
Can I bake this instead of pan-searing? Yes, at 400°F for about 8-10 minutes depending on thickness, checking internal temperature starting at the 7-minute mark, since baking still requires the same careful attention to timing.
Skip the guesswork tonight — a thermometer and a gentle hand with the heat are what actually keep snapper’s delicate meat from drying out.