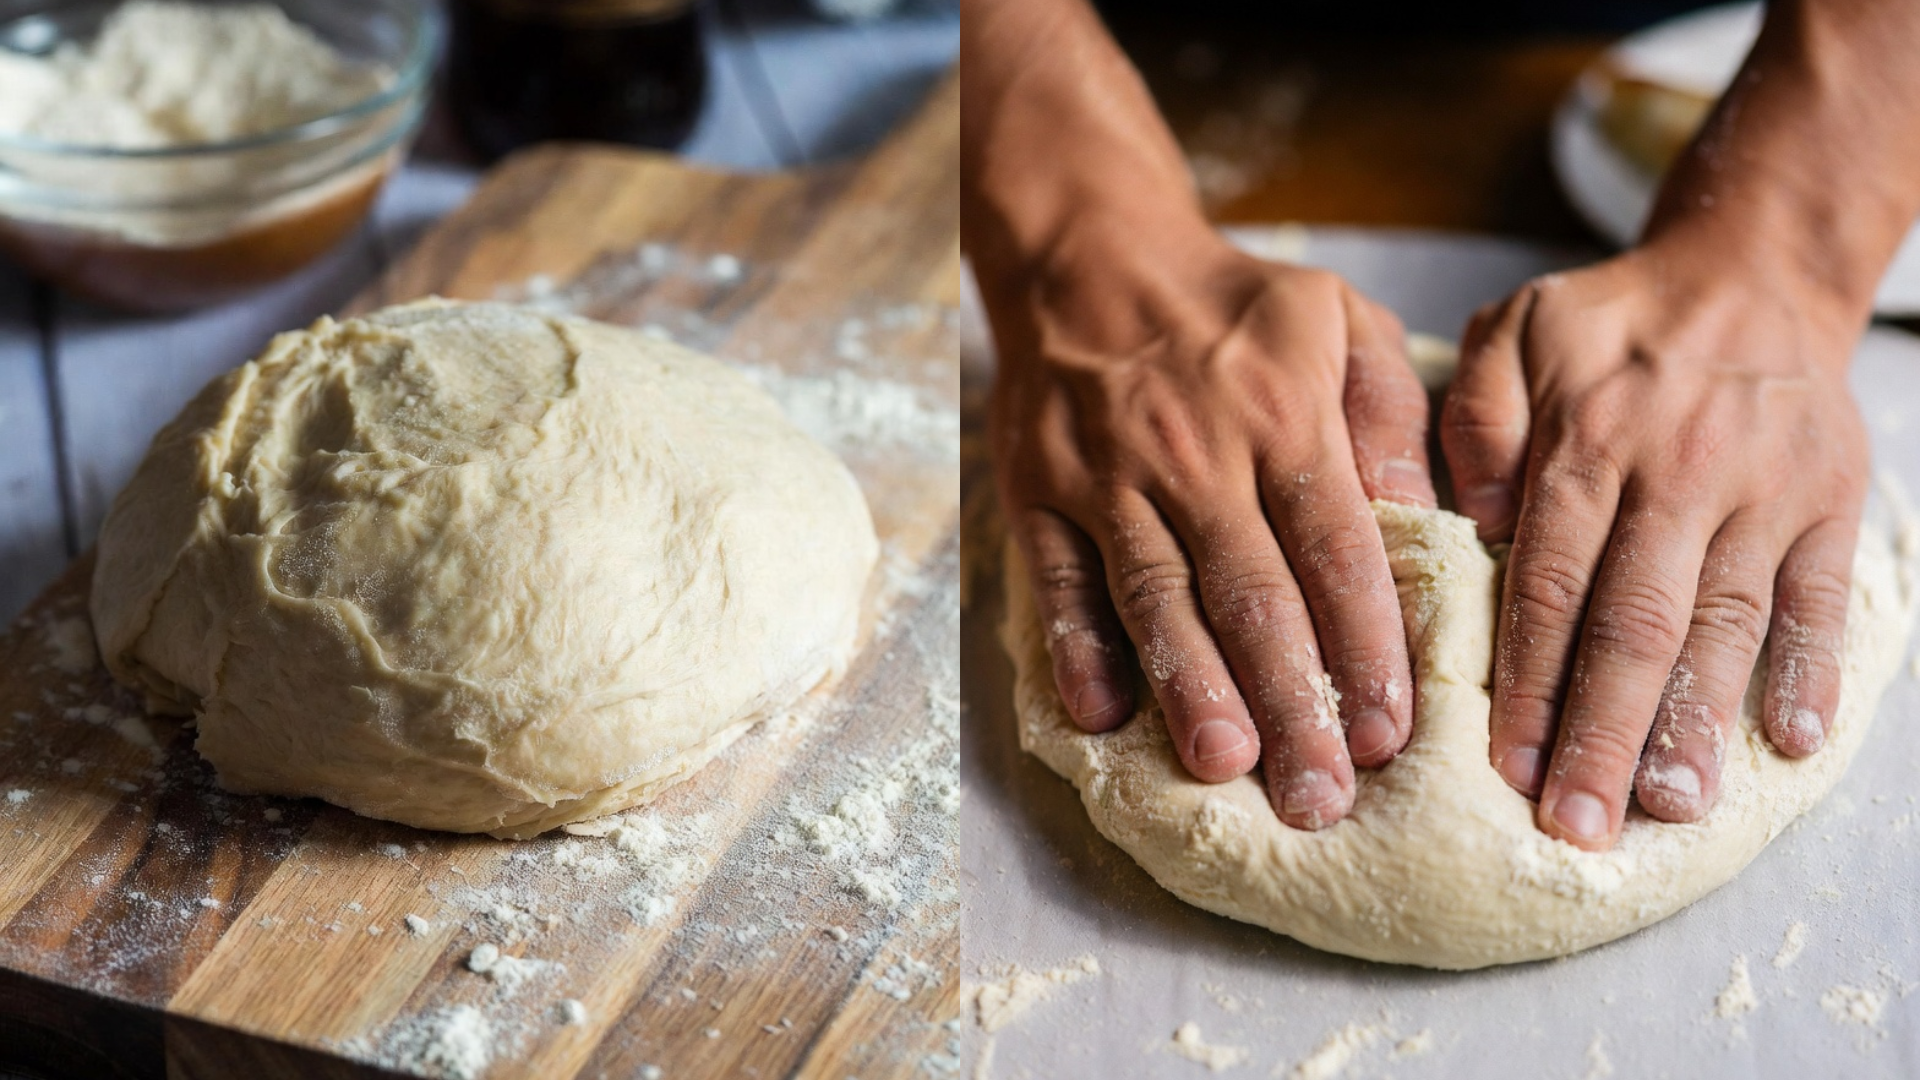
Most people overcook this — well, over-wait for it. Here’s how not to. The difference between dough that needs three hours and dough that’s ready in under one comes down to one step: giving the yeast an environment warm enough to work quickly, rather than leaving it at room temperature and assuming time alone will get it there.
This easy pizza dough recipe without the dreaded three-hour yeast rise relies on warmer water, a touch more yeast, and a genuinely warm proofing spot to speed fermentation without sacrificing flavor or texture. The long rise isn’t wrong, exactly — it’s just not the only path to good dough, and most home cooks don’t have three hours on a Tuesday.
Prep time: 10 minutes | Rise time: 45-60 minutes | Total time: 55-70 minutes | Servings: 2 medium pizzas
Table of Contents
What Makes This Recipe Work
- Water is used at 110-115°F, not lukewarm — this is intentional. Yeast activates fastest in this specific range; too cool and fermentation crawls, too hot and it kills the yeast outright
- A slightly higher yeast quantity speeds fermentation — the science here is simple: more yeast cells means more carbon dioxide production per minute, shortening the time needed to double the dough without changing the final texture significantly
- The dough proofs in a genuinely warm spot, not just room temperature — most recipes skip this detail, but an oven with just the light on, or near a warm appliance, cuts rise time substantially compared to a cool kitchen counter
- A short autolyse before kneading develops gluten faster — letting flour and water rest briefly before the yeast and salt go in jumpstarts gluten development, reducing the kneading time needed afterward

Ingredients — What to Buy and Why It Matters
- Bread flour (3 cups), plus extra for dusting: Higher protein content than all-purpose flour develops more gluten, giving the crust structure and chew — all-purpose works in a pinch, but the crust will be noticeably softer and less chewy.
- Instant yeast (2 1/4 tsp, one standard packet): Instant yeast activates directly in the dough without a separate proofing step, which saves time compared to active dry yeast, which needs to bloom in water first.
- Warm water (1 1/4 cups), between 110-115°F: This specific range is what activates the yeast fastest — check with a thermometer if you’re unsure, since water that feels warm to the touch can vary significantly from the ideal range.
- Olive oil (2 tbsp), plus extra for the bowl: Adds flavor and tenderness to the crust, while also helping prevent the dough from sticking to the bowl during its rise.
- Sugar (1 tsp): A small amount feeds the yeast directly, giving it an immediate energy source that speeds early fermentation.
- Kosher salt (1 1/2 tsp): Added after the initial rest, not with the yeast directly, since salt in high concentration can slow yeast activity if they make contact too early.
Substitution note: All-purpose flour can fully replace bread flour if that’s what’s available, though expect a slightly less chewy, more tender crust as a result.
Step-by-Step Instructions
- Combine the warm water and sugar in a large bowl, stirring to dissolve. Sprinkle the yeast over the top and let sit for 5 minutes, until foamy. This is the critical step here — if the yeast doesn’t foam, either the water was too hot and killed it, or the yeast itself is no longer active.
- Add 2 cups of the flour and stir until a shaggy dough forms. Let this rest, uncovered, for 10 minutes. What’s actually happening during this short autolyse is the flour is fully hydrating and gluten is beginning to develop passively, before any active kneading starts.
- Add the remaining flour, olive oil, and salt. Mix until a rough dough comes together.
- Turn out onto a floured surface and knead for 5-6 minutes, until the dough is smooth and springs back slowly when poked. This is non-negotiable for proper gluten development, even with the faster method.
- Place the dough in an oiled bowl, turning once to coat. Cover with plastic wrap or a damp towel.
- Proof in a genuinely warm spot — an oven with just the light on, or near a warm stove — for 45-60 minutes, until doubled in size. Check at 45 minutes; warmer spots will finish faster than cooler ones.
- Punch down the dough gently and divide into two portions for medium pizzas. Shape each into a ball, cover, and let rest 10 minutes before stretching, which relaxes the gluten enough for easier shaping.
- Stretch or roll into your desired shape, top as you like, and bake according to your topping and oven setup, typically 450-500°F for 10-14 minutes depending on thickness.

Technique Notes for Better Results
- The professional approach here is checking water temperature with a thermometer rather than guessing by feel, since water that feels warm to the hand can range anywhere from 90°F to 120°F
- Where most home cooks go wrong is proofing dough on a cool countertop and then wondering why it takes so long, when the actual fix is simply finding a warmer spot
- If your kitchen runs cold, warming the mixing bowl briefly under hot water before adding ingredients gives the yeast a better starting environment
- For a deeper flavor despite the shorter rise, letting the shaped dough balls rest in the fridge for a few hours after the initial proof develops some of the complexity a longer rise would provide, if time allows
- Don’t add too much flour during kneading — a slightly tacky dough is normal and produces a better texture than one that’s been over-floured into stiffness
- If the dough hasn’t doubled within an hour even in a warm spot, check that your yeast is still active by testing a small amount in warm water with sugar before troubleshooting anything else
Plating and Serving
- Classic margherita toppings — tomato, fresh mozzarella, basil — let the crust’s texture speak for itself
- A simple green salad with lemon vinaigrette balances the richness of a heavily topped pizza
- Garlic knots made from any extra dough scraps make good use of leftovers
- Slice with a rocking motion using a pizza cutter or chef’s knife, rather than sawing, for cleaner edges
- A light Chianti or a cold pilsner both pair well, cutting through the richness of cheese-heavy toppings
Nutritional Profile
Bread flour’s higher protein content contributes slightly more protein per serving than a crust made with all-purpose flour, alongside its structural benefits. The olive oil adds healthy monounsaturated fat in a modest amount relative to the size of the dough. For a lighter crust, reducing the olive oil slightly is possible without significantly affecting texture, since its main role is flavor and tenderness rather than structure. Using whole wheat flour for up to half the total flour adds fiber, though the dough will be denser and require slightly more water to compensate for the drier flour.

Common Questions, Answered Directly
Can I make this even faster? The yeast quantity and water temperature here are already optimized for speed — pushing further risks a dough that tastes distinctly yeasty rather than balanced, so 45-60 minutes is close to the practical floor for a dough that still tastes good.
Why didn’t my dough double in time? Most likely a proofing spot that wasn’t warm enough, or water that was too cool when mixed with the yeast. Check both before assuming the yeast itself is at fault.
Can I make this ahead and refrigerate it? Yes, after the first rise, punch down and refrigerate up to 2 days, letting it come to room temperature for about 30 minutes before shaping.
Can I freeze the dough? Yes, after the first rise, wrap tightly and freeze up to 3 months. Thaw overnight in the refrigerator, then let it come to room temperature before shaping.
Skip the three-hour wait tonight — warm water and a genuinely warm proofing spot are what actually get you there faster.